Here's the label,

The tank cost with tax in California was 107 dollars & change.
The usable messurements which were took from inside the tank are;
33 inches wide
21.5 inches deep
4 foot 8 end to end at the top of the tank
4 foot 5 end to end from the bottom of the tank
It will be in my patio which is rather large and suffient for the tank. However it only gets sunlight in the morning, so I'm most likely still going to need the basking lights.
Here some photo's of the patio.
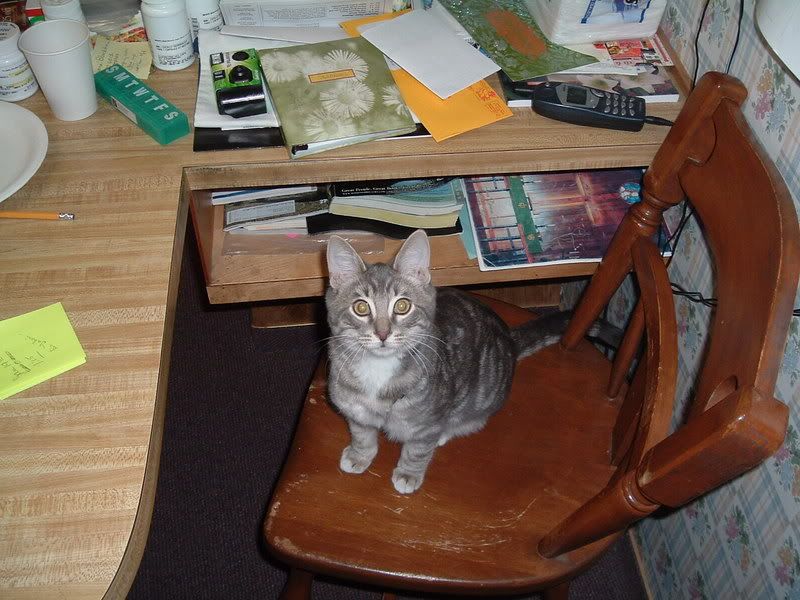
My view from my desk

Looking East

Looking West

On the 26th I'm driving up to my Pop's house and we're going to construct the Skippy Filter. He's much more handy than I am, and I'm going to need his know-how. But once I know how to do it, I may end up helping my friend construct a pond similar to the one I am making!
Expect updates at the beginning of the year. I was just so excited that I took the first step I wanted to share. I will also keep a list of expenses for the curious.
And here's a recent pic of Sputz (12/13/06)
 [/img]
UPDATE 12/16/06
I went out searching for a water pump! I searched Petco, Petsmart, and Home Depot. Petco had NOTHING! Petsmart had pumps but they were all 1kGPH+. Home Depot had several different volumes of pumps:

I ended up picking out this one because it pumps 350GPH it was only 5 dollars more than the 300 GPH pump. The more water that goes through the filter the better!

Cost: 39.93 + tax = 43.27
I went out searching for what kinds of water treatments are avalible for ponds. These are the two I debated over getting:
The first is Tetra Pond the makers of everything "Tetra". This cost about 13 bucks and basicly was a larger version of the Tetra Aquarium stuff I've been using in Sputnik's aquarium. What turned me off is its extra stuff to help your fishes scales. I didn't know if that would help out a turtle so I passed on it. It also cost about 14 bucks.

I ended up getting Kordon Pond Amquel. I chose this because 1 it was cheaper. 2. it didn't have anything to help fish scaled. 3. it seemed more fit for a smaller type pond.

Cost 11.49 + tax = 12.09
This concludes what I can do while in San Diego and without my Dad. More to come later on.
Edit 12-30-06
As Promised I am back with updates on how the building of the filter went at my Dads.
I was planning on giving a financial breakdown and a step by step instruction on how I did this, but as the project went on, it got spuratic and I lost track. Money wise I'll be guessing. Every bit of pipe or tubing you see cost about 25 cents each. Screws were 50 cents each. The pot cost about 8 bucks.
This is what we started with. 3 L 3/4in piping. 1 T 3/4in piping and a (can't remember what it's called, but it helped take the water from tubing to PVC pipe.) The middle piece of PVC was a adapter from threaded pipe to non threaded pipe.

We used a taracotta pot, which had a prexisting hole in the bottom. We decided to use that hole as our inlet. To stop leaks we bought two large rubber washers and placed one on either side where the pipe went through the pot.

The outlet pipes were simple. One T fitting and two L fittings to create the vortex outlets.

The hose hooky thingy mabob pipe was taped with plumbers tape around the threads, then screwed in to the adapter piece. Make sure to screw the fitting on slightly harder than finger tight. (one reveloution with a wrench).

This is all the PVC plumbing before being glued into the pot.

Once glued in the bottom of the pot looks like this!

Once the pipe is in, you'll want to use some kind of water proof sealer around the washers.

The grating you'll need can be found in the lighting section of your hardware store. It's plastic grating used in drop ceilings I believe, that's where we found ours. I messured the diameter of the pot from the top of where the PVC pipe sits.

I believe it was 8 1/2 inches. Then I messured the grating the same distance, both vertical and horizontal to get a fitting square.

&

I first cut it with a hand saw my Dad found, then he decided I should use a Dremel instead. Then it didn't take nearly as much effort. But I looked so determined with that saw!

When you have the smaller square piece cut away, take the bottom of the pot and draw an outline of the pot around the bottom of the grate. This will give you a guide of where to cut to make it circular.

With some cutting and trial and error eventually it'll fit like so!

Then a leak test!
Oh Noes! Three Pronged Pump Plug AHHHHH!

The original tubing we used was black rubber tubing. It wouldn't constrict enough to prevent leakage. I ended up with water all over my jeans.

There were also minor leaks through the washers, but not fast enough to ruin the functionality of the filter. Also the pot is porous by nature. Later we used Water Sealer to prevent that from happening.
Sponges!
Pack of 10 huge spunges at Smart & Final cost about 3 bucks. That's all you'll need for a filter this big.

Sadly they were too big for the pot.

I believe I cut these into four equal pieces and then placed them in a fallen domino type formation on the bottom.

and for good messure I placed another piece in the middle. I did this for about 4 layers.

Another grate was cut, messuring from the top of the sponge pile.
Back to pump and tubing. We went back to Ace Hardware and bought clear plastic tubing. This tubing hugs tight to whatever you put around it. Though we had a problem with putting it around the outlet on the pump. We got out the hairdryer placed it on high and let the plastic get warm. This allowed it to expand easier and fit around the nosel much easier.


We did one more test with out the pads and with the new hose.

Then we put it all together and placed a rock ontop of the grate so the spounges would not float to the top.

And that is about all the photo's I have of the filter.
The stand was another problem since the piping came in from the bottom. We ended up using a large plank of Douglas Fur cut to allow the pot to rest on it, with a support beam along the bottom of the plank, which was made of oak. It's important to use hardwoods since the wood will be supporting quite a bit of weight.
I didn't take alot of pictures of this process because I wasn't quite sure what was happening with it. My Father and wife were the creative influences behind it's fabrication. Here are some shots of it almost completed.
Plans

Dad screwing in some Stainless Steel screws to keep the support beam connected to the main board.

The stand construction delt with alot of woodworking techniques I haven't used since 7th grade woodshop. I got to use a jig-saw though which was like old times. I wouldn't recommend this to anyone who doesn't know much about wood working. But I guess you wouldn't have a jig-saw would you.
Here is a shot of my dad and I with the final filter/stand w/o spounges.

And Trapper for good messure. (He traveled better than most dogs do)