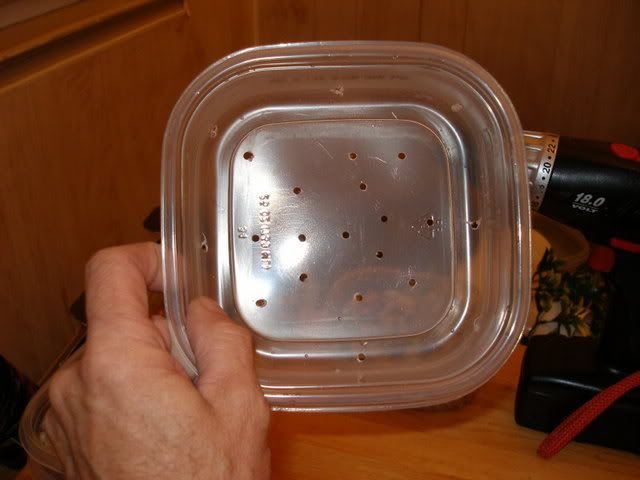
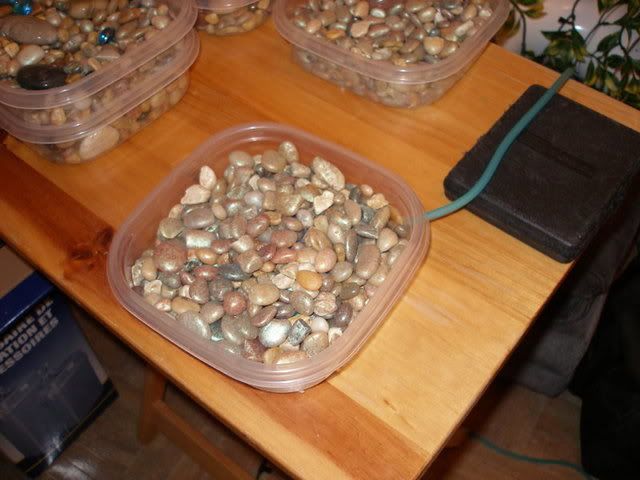
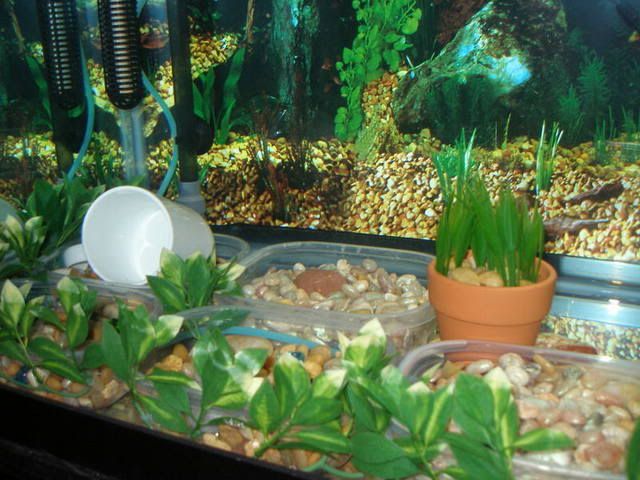
My turts love digging around in the rocks, I hate having to clean up after them. So I compromised. I took five small Tupperware containers and drilled some holes in the bottom. then on cleaning day, i just lift them out and rinse.
In one, I drilled a hole in the side, and ran an airline to an airstone, then covered it with rocks.


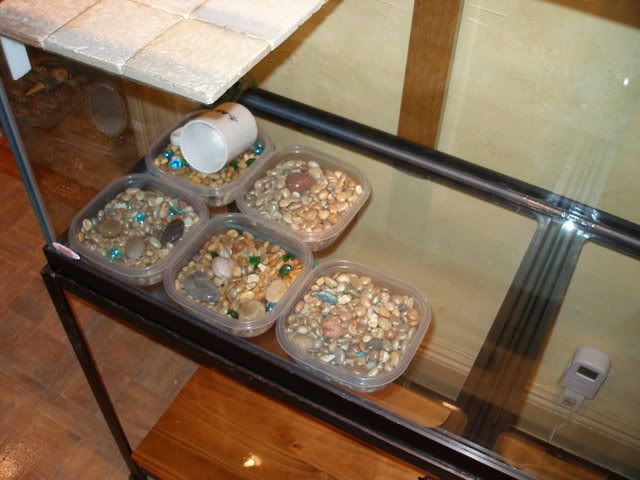
The "dry fit". The coffee mug is a "hidey hole". I'll have to remove it when they get bigger. Don't fill the containers all the way or you'll be picking rocks up off the tank floor. I also plan on putting some fake plants around the containers, to try to hide them.
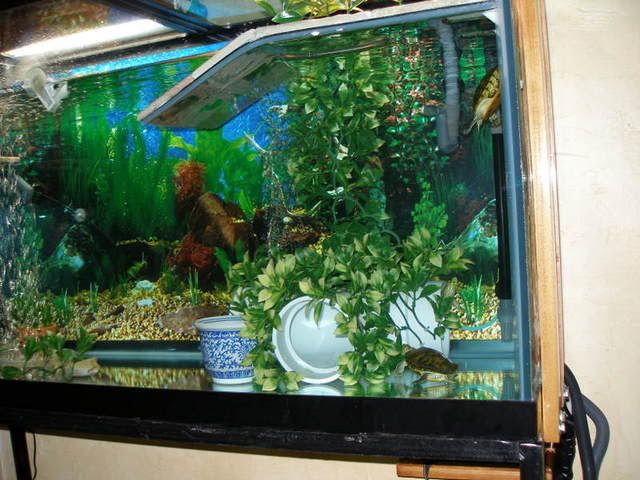
I hate PVC in a tank. I think it looks terrible. But the kids love this stupid thing, so who am I to argue? So I spruced it up a bit using genuine imitation plants and small nylon ties.


I figure the little pot on the right will last a day or two before the little stinkers knock it over and scatter its contents all over the tank...on the left is a small vase, just another place to hide out from the Big Head.

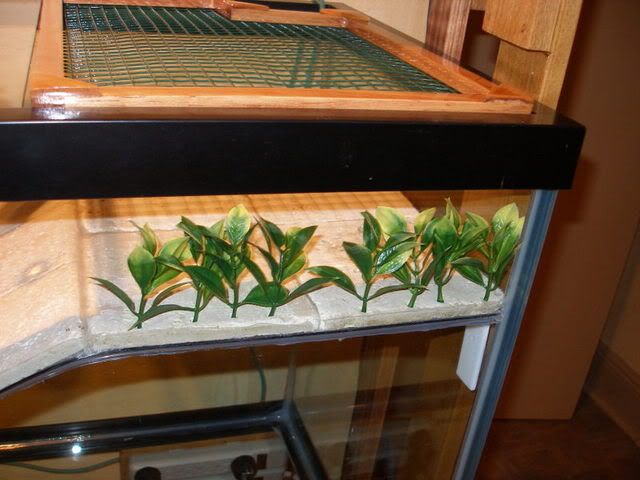
Before I set the tiles in place I drilled some holes for some more genuine imitation plants. I didn't glue them down so I could remove them for cleaning. They will probably end up getting ripped out and thrown in the water anyway......
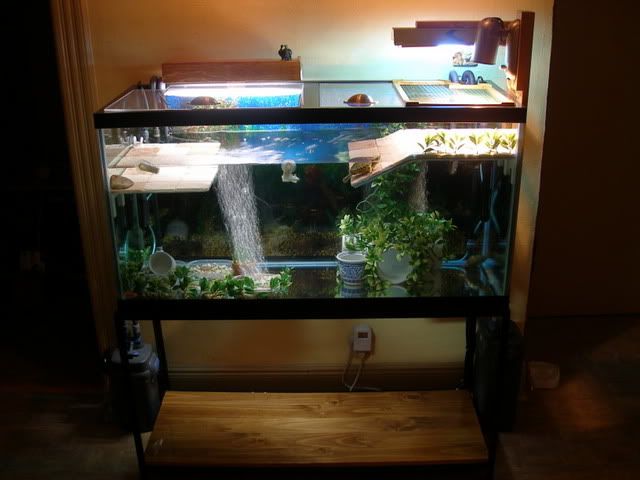
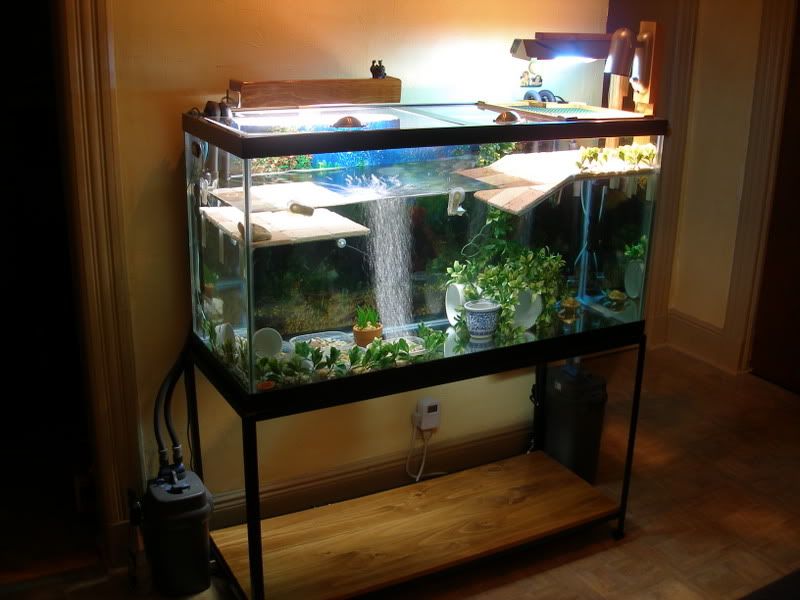
Then I set up the filters. That's a Fluval 404 in the foreground (with "new and improved" handles), and a 203 (old handles) on the other side. I don't know if this is going to be enough to handle three growing turts, I may be upgrading to an FX5 or XP4.

Then, with the background in place, all that's left is to drop in the turtles. This was done on Thursday morning, and they scurried to the bottom to hide. I left them with two large romaine leaves, and a baby carrot clipped to the tank.
Here's what I found when I got home from work....that was a large piece of romaine.
So was this...and in the background, you can see whats left of the carrot, chewed down to the nub. I guess their new surroundings didn't affect their appetite....
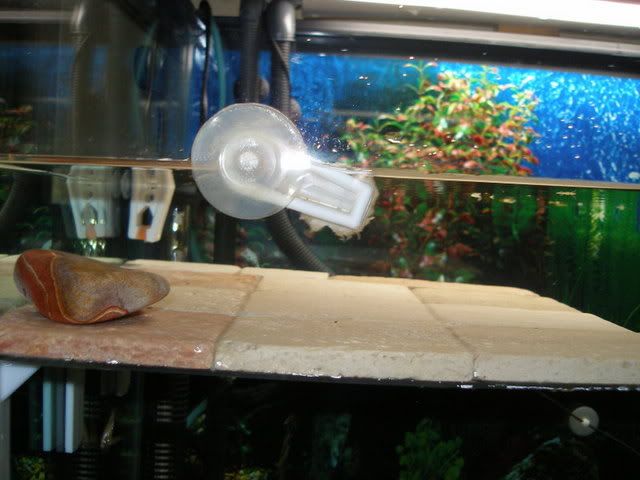
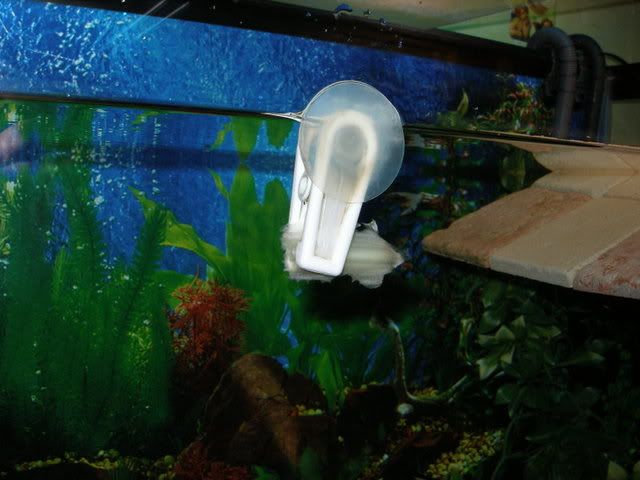
Here's some shots of the interior. I took a hanging plant and attached it to the tank with a suction cup just above the water line so it would look like it was all one piece with the plants on the pipe.
The rocks with a little camouflage...note the 200 watt Tronic heater w/guard. I'm using two of 'em...
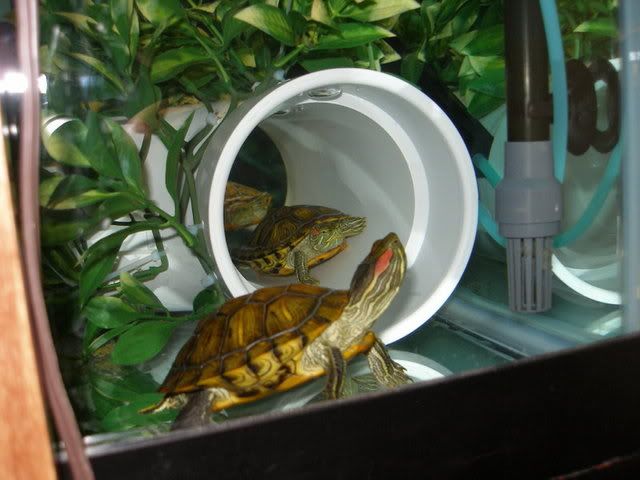
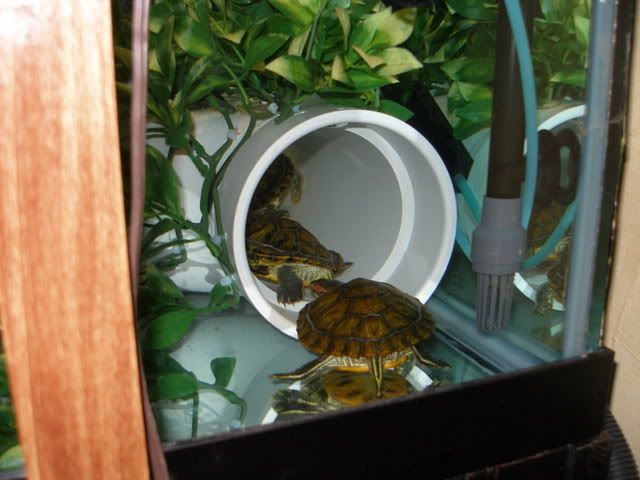
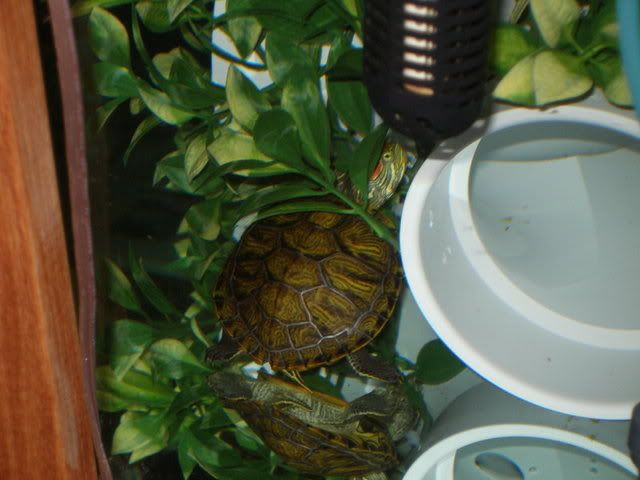
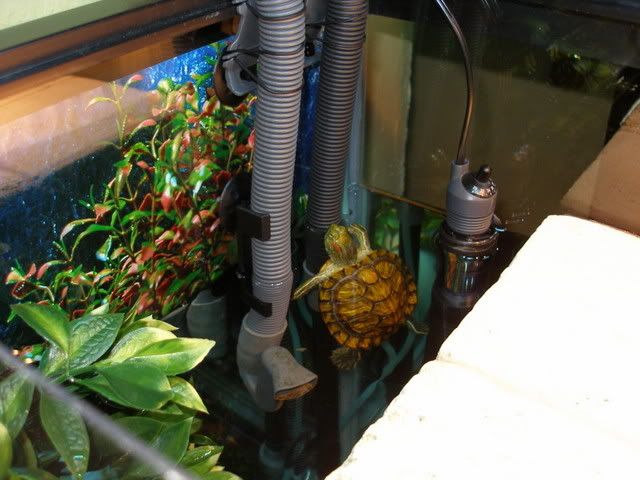
Here's the kids playing follow the leader in that pipe...they've been doing this since the first week I've had them.
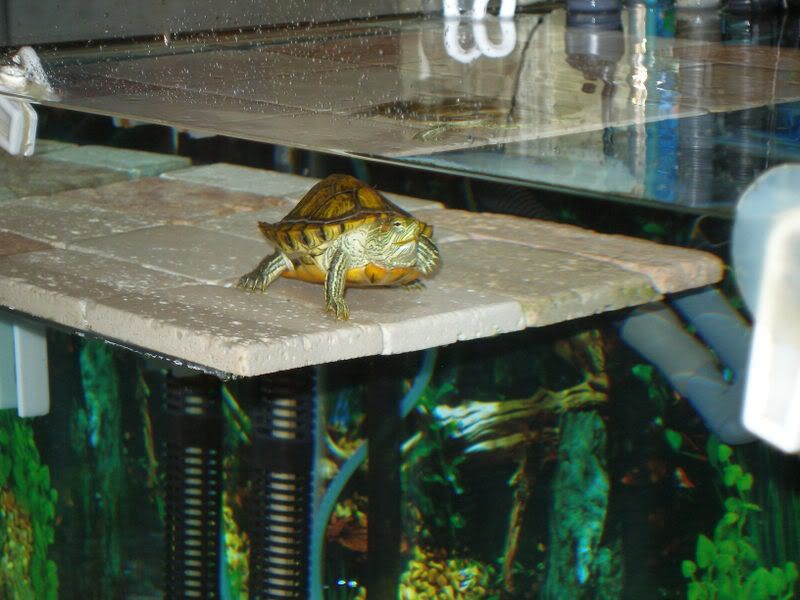
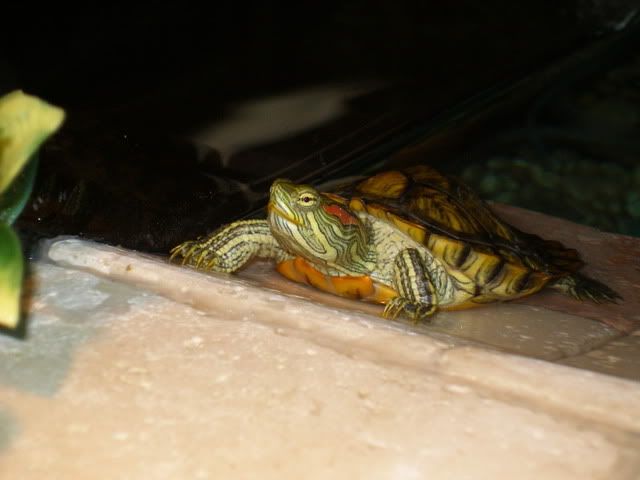
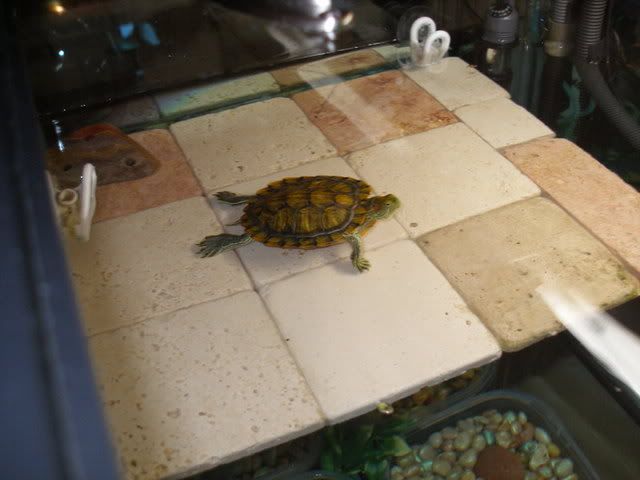
Here's Gomez (see the little moustache?) checking out the new ramp. But wait! Is that the Big Head hiding behind those bright lights?
"Here kitty, kitty..."
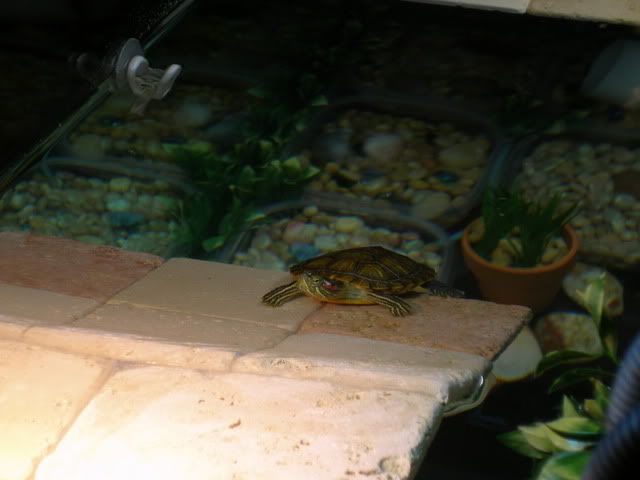
"No thanks Mr. Big Head, I'll just bask over here in the water." For a small turtle, he sure got some big feet!
Then Big Daddy comes over, and wonders what it would be like to bask among genuine imitation plants.
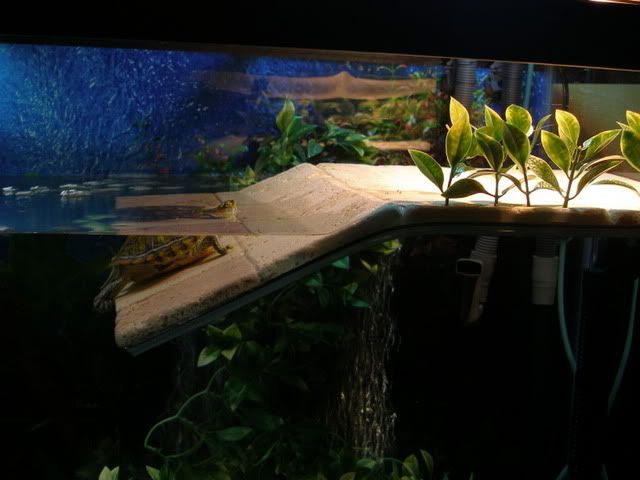
Big Daddy is beginning to look more and more like Big Momma!
Beaker: "Yea, definitely gonna miss Wapner.....
This is as close as I've seen Beaker get to the basking ramp. He's such a scaredy cat. Note the temp control for the Tronic heater.....
And that's about it. I still have to do a little tweaking here and there, and continue to keep an eye on the ramps, but I'm pretty happy with what I've done so far....
All the materials I've used in this design are readily available at your local hardware store. And with the exception of the basking areas, which I don't recommend the novice (or faint of heart) attempt as I'm still testing its long term usefulness, anyone with a working knowledge of tools (the only power tools I used was a drill for the stand and wood brackets, and a Dremel for cutting the tiles and covers) should be able to pull it off.
I'm going to be putting ramps on a 35 gal. tank in about a week or so. I'm still waiting to hear back from the adhesive guy. I'll take pics of the whole procedure and post 'em.....
SHELL PROBLEM???? WHAT SHELL PROBLEM??????