This is what cuttlebone looks like. It varies in length, width, and thickness, but it generally looks like this. You can find it in the bird supplies section of pet stores, or even grocery stores.
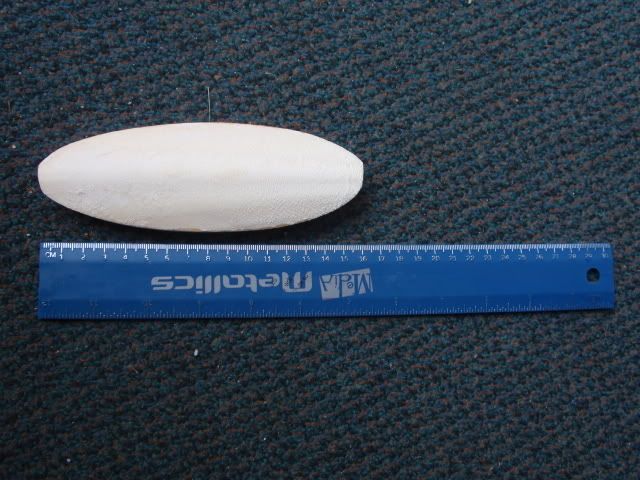
The side with the backing is shown. If you try to run your fingernail along this side, you will file down your fingernail.
On the opposite side, the soft side, it is easy to dig your fingernail into and make a gouge.
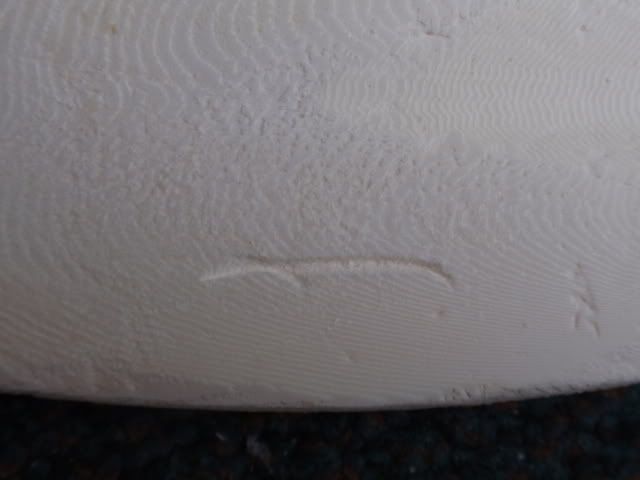
When looking at the cuttlebone from the side, you can see one side has a yellow/off-white layer. This is the backing.

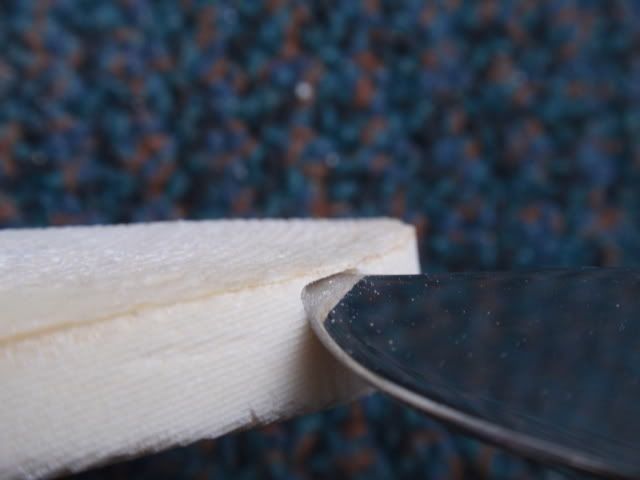
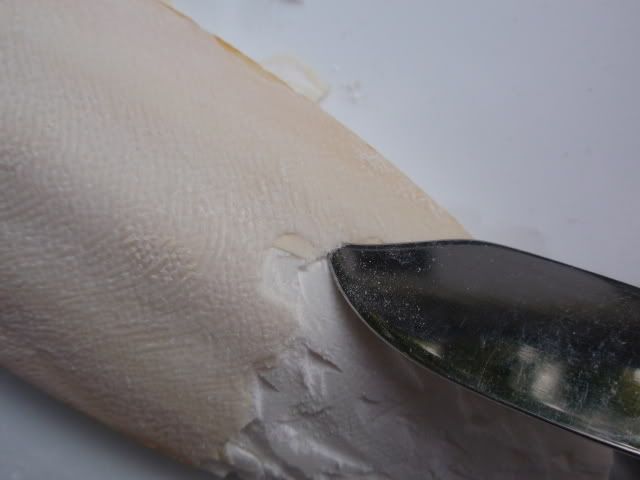
I use a pointy butter knife to chip the backing off. I usually start by wedging the point just under the backing.
Lift the point up, and a chunk (hopefully mostly backing) will come off.

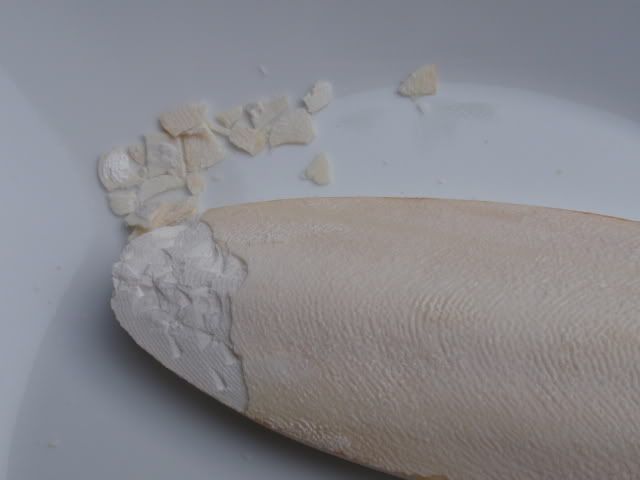
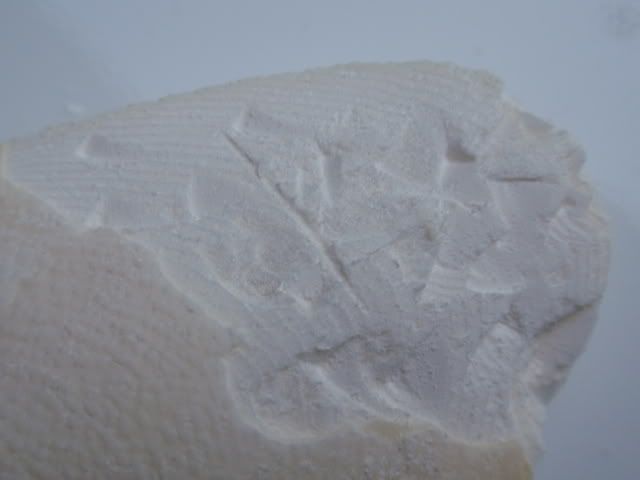
Here's what the cuttlebone looks like with the backing partially chipped off.
If you run your fingernail across where you have chipped the backing off, it will be soft like the other side.
Keep chipping away by sticking your knife just under the backing. It usually takes me about 5-10 minutes, depending on the bone. I would recommend doing this outside, since it can be messy.
This is what the bone looks like with all the backing chipped off.
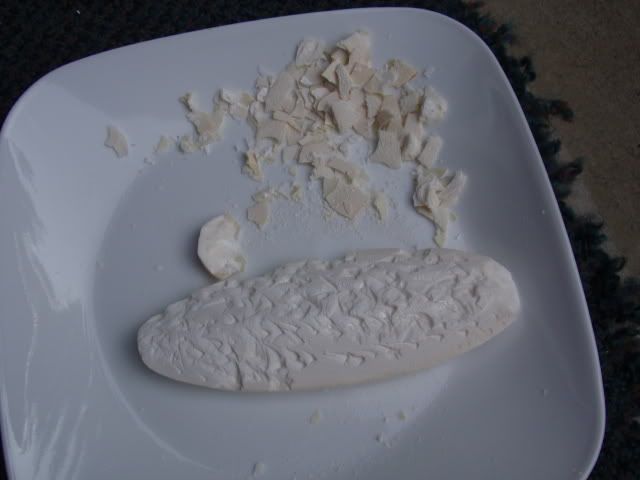
Sometimes the backing comes off in nice big pieces, and sometimes in little tiny pieces. It really depends on the bone.
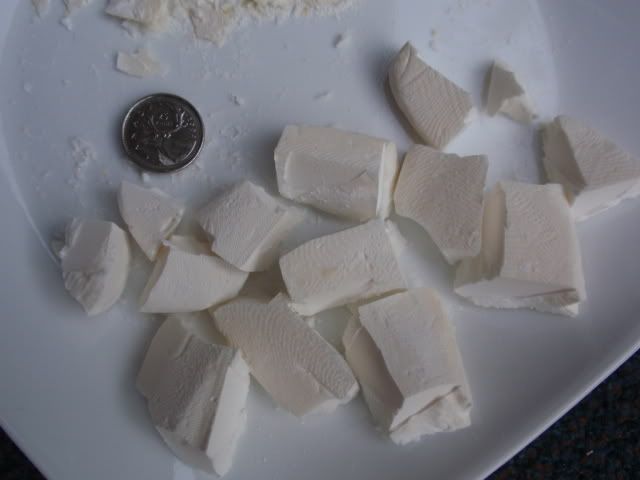
Finally, I usually cut the bone into head-sized pieces, which I give to my turtles every second day or so.
As a minor note, I actually used ZooMed's "Turtle Bone" in the pictures. You still need to remove the backing from "Turtle Bone".
I usually do a couple bones at a time so it's ready when I need it.
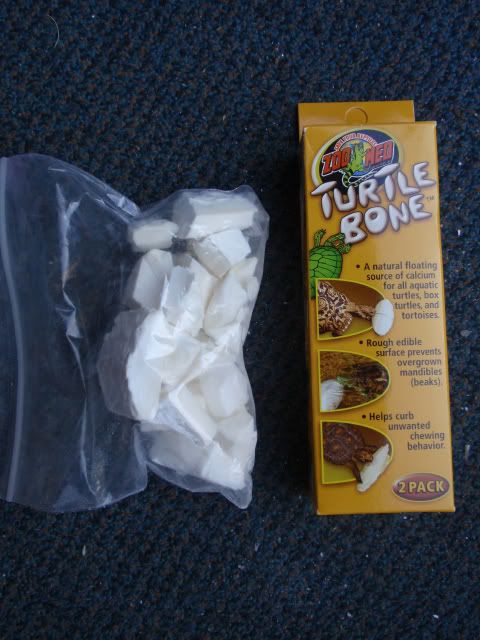
It is not necessary to use "Turtle Bone". Regular bird cuttlebone is just as good. Buy which ever you can get cheaper.